Deploy ASP.NET Core to Azure
12 months of a free B1s VM (750 h/mo), plus $200 in credit for 30 days.
If your team already has an Azure subscription, or you want the 12 months of a free B1s VM that
comes with a new account, DotDeployer can provision and deploy to Azure directly. Azure
authenticates DotDeployer with a service principal — an app registration with a client secret
and a role assignment — rather than a single API token.
1. What you need
- An Azure account (a Microsoft account or GitHub sign-in works).
- An app registration (service principal) with a client secret, and the Contributor role on your subscription.
- A DotDeployer account.
2. Create the account and the API credential
- Go to azure.microsoft.com/free and sign up — this asks for
phone verification and a card (a small temporary hold, not a charge), and gives you $200 of
credit for 30 days plus 12 months of
B1s/B2pts v2VM hours. - In the Azure portal, open Subscriptions and copy your Subscription ID. Open Microsoft Entra ID → Overview and copy the Tenant ID.
- Go to Microsoft Entra ID → App registrations → New registration, give it a name, and copy the Application (client) ID it’s assigned.
- On the same registration, open Certificates & secrets → New client secret, and copy the secret’s Value immediately — Azure only shows it once.
- Go to Subscriptions → your subscription → Access control (IAM) → Add → Add role assignment, choose the Contributor role, and assign it to the app registration you just created.

3. Connect it in DotDeployer
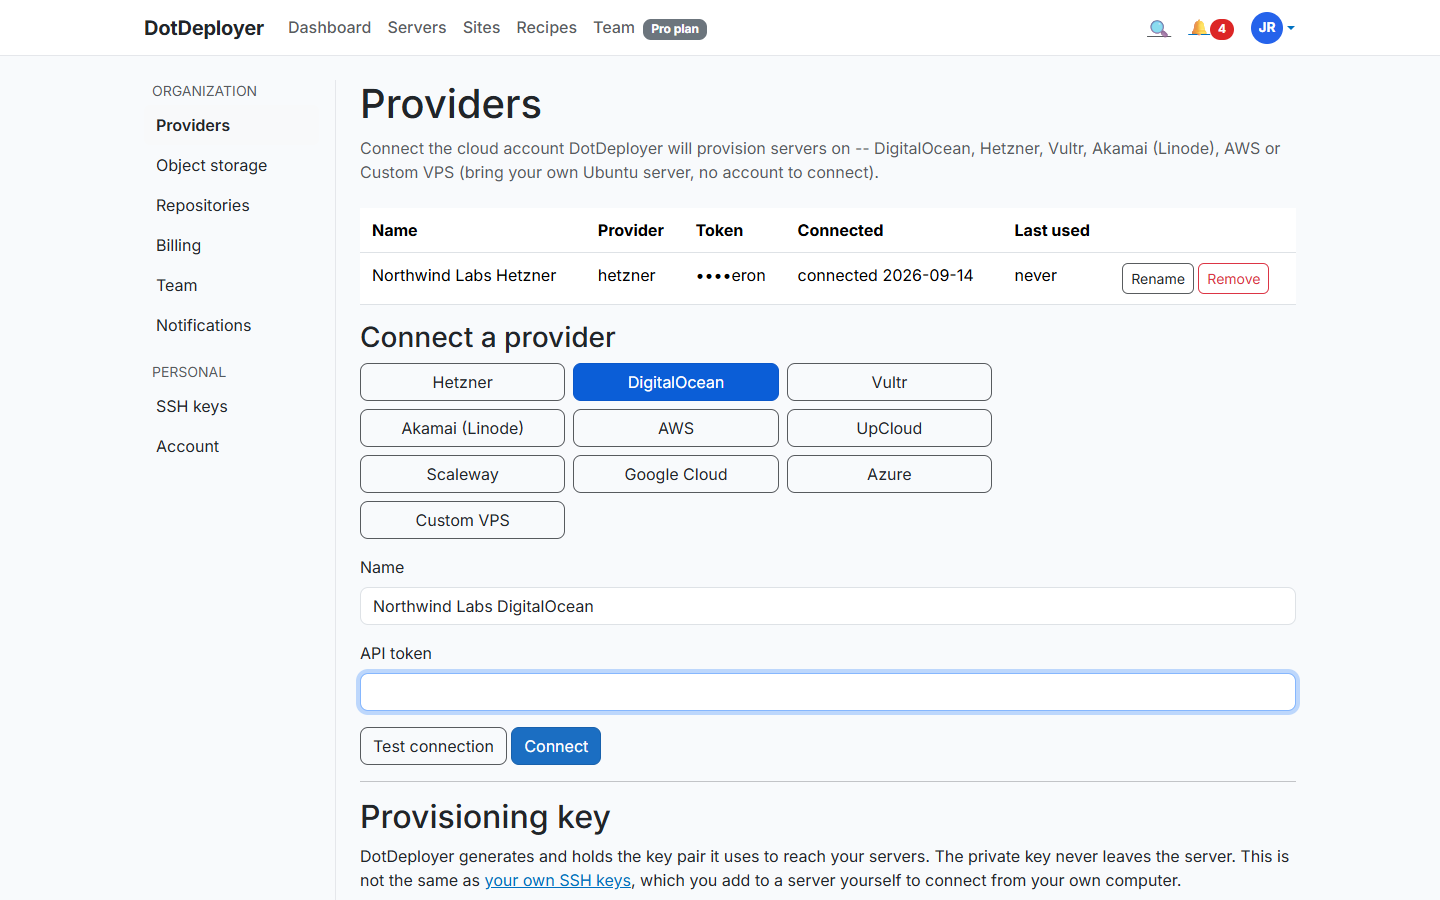
- In DotDeployer, go to Settings → Providers → Connect a provider → Azure.
- Enter a name, then the Tenant ID, Client ID, Client secret and Subscription ID from the previous section.
- Click Test connection, then Connect. The secret is encrypted at rest; DotDeployer only calls the Compute endpoints the Contributor role allows.
4. Create the server
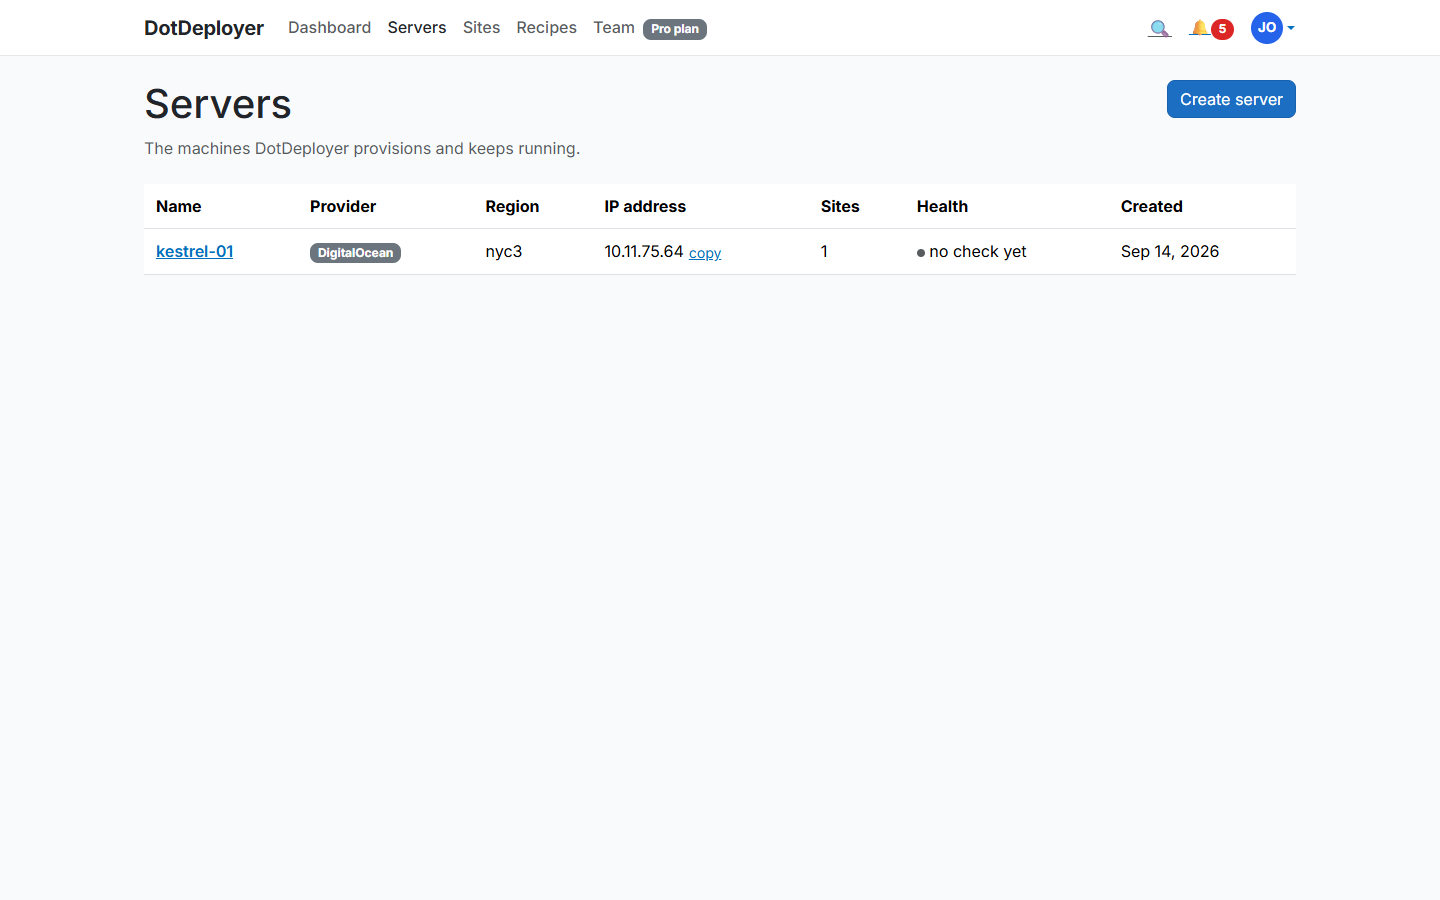
- From Servers → Create server, pick Azure, choose a region, and select a size —
B1sfor the free 12-month allowance, or a larger size if you’re spending the trial credit. - DotDeployer provisions the VM and bootstraps it: firewall, unattended upgrades, the ASP.NET Core runtime, nginx. It shows Active once ready.
5. Add a site and deploy from GitHub
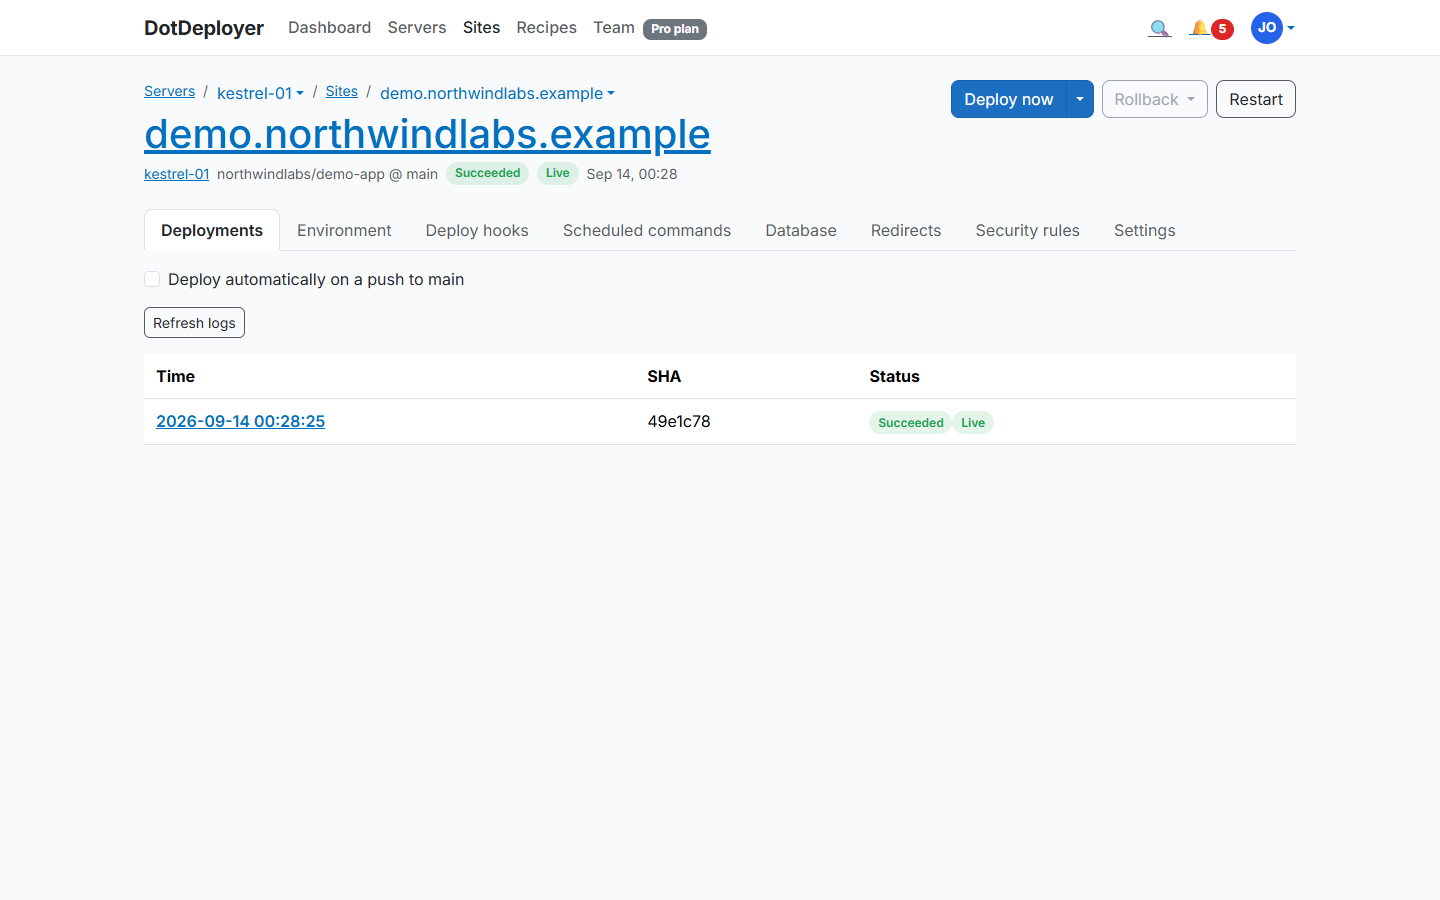
- Click Add site on the server and connect the GitHub repository to deploy.
- DotDeployer publishes your app, sets it up behind nginx as a systemd service, and streams the deployment log as it runs.
- Every subsequent push to that branch deploys automatically, with the last five releases kept on disk for an instant rollback.
6. Database and environment variables
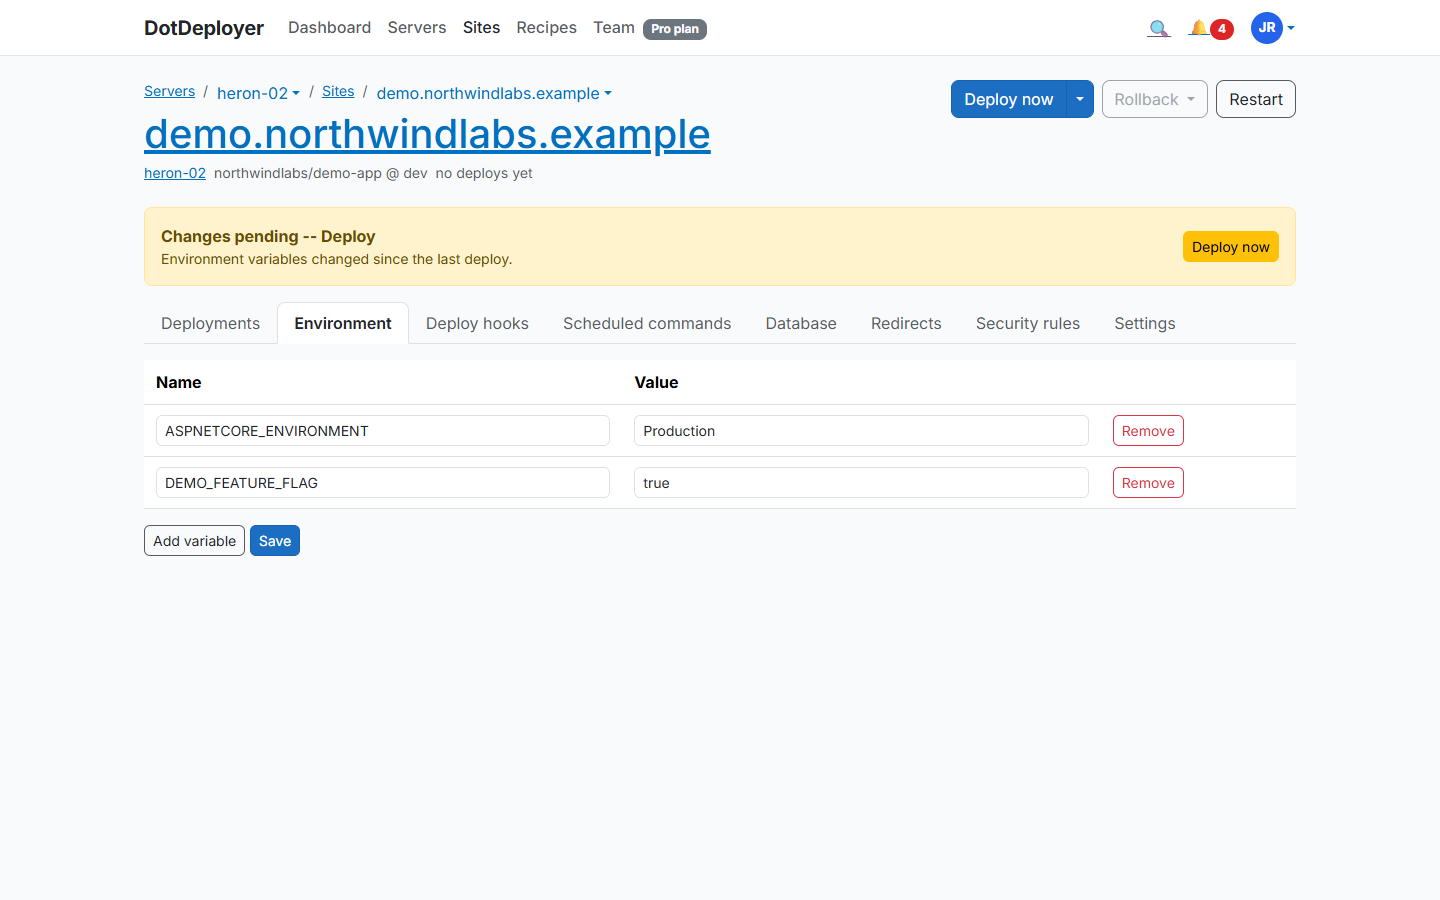
Install PostgreSQL or SQL Server on the same VM from the site’s Database tab — the port is
never exposed to the internet; you connect from your laptop over an SSH tunnel. Set your
connection string and other secrets under Environment variables, encrypted at rest and
delivered as a systemd EnvironmentFile on the server, never committed to your repo.
7. HTTPS
Point an A record at the VM’s public IP for your domain, then add it under the site’s Settings tab (Domains section). DotDeployer requests a Let’s Encrypt certificate and renews it automatically.
That IP is a Standard/Static public IP, not just the VM’s own address — point your A record once and it survives a reprovision, so you never have to edit DNS again after a rebuild.
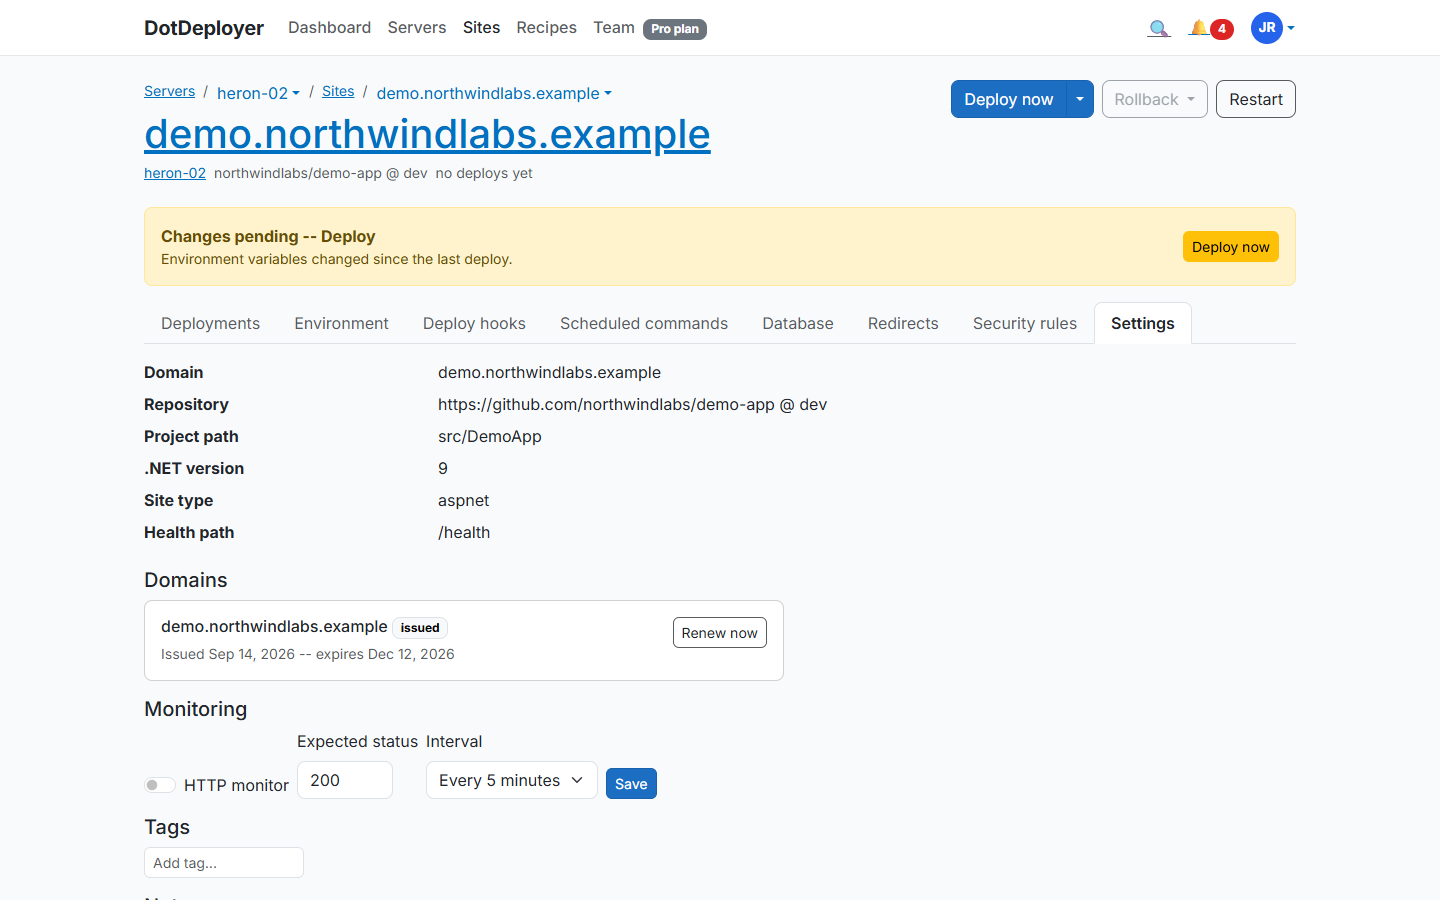
8. What to check
- The site loads over HTTPS with a valid certificate.
- The deployment log shows the latest commit as the live release.
- Azure’s own Cost Management + Billing page shows spend within your $200 credit or your
B1sfree hours. - Azure disables the subscription at day 30 (or when the $200 runs out) unless you upgrade to pay-as-you-go — do that before then if you want the 12 months of free VM hours to keep counting.