Deploy ASP.NET Core to Vultr
No published free credit — the cheapest entry price of the ten, from $2.50/month.
Vultr doesn’t publish a standing free credit, but it has the widest spread of regions here — over 30 locations across North America, Europe, Asia, Australia and South America — and the cheapest entry-level price. If you want to be close to users on several continents, it’s the easiest way to try that out cheaply.
1. What you need
- A Vultr account with a card on file.
- An API key with read/write access, with your caller IP allow-listed.
- A DotDeployer account.
2. Create the account and the API credential
- Sign up at vultr.com/register with your email and a password, verify your email, and add a card under Billing — Vultr may ask for a small minimum deposit, which stays as account balance. Take any signup promo credit that’s offered, but don’t plan around one being there.
- Go to Account → API (
my.vultr.com/settings/#settingsapi), enable the API, and copy the API key. Under Access Control, add the IP address DotDeployer will call from (or0.0.0.0/0while testing, then narrow it later).

3. Connect it in DotDeployer
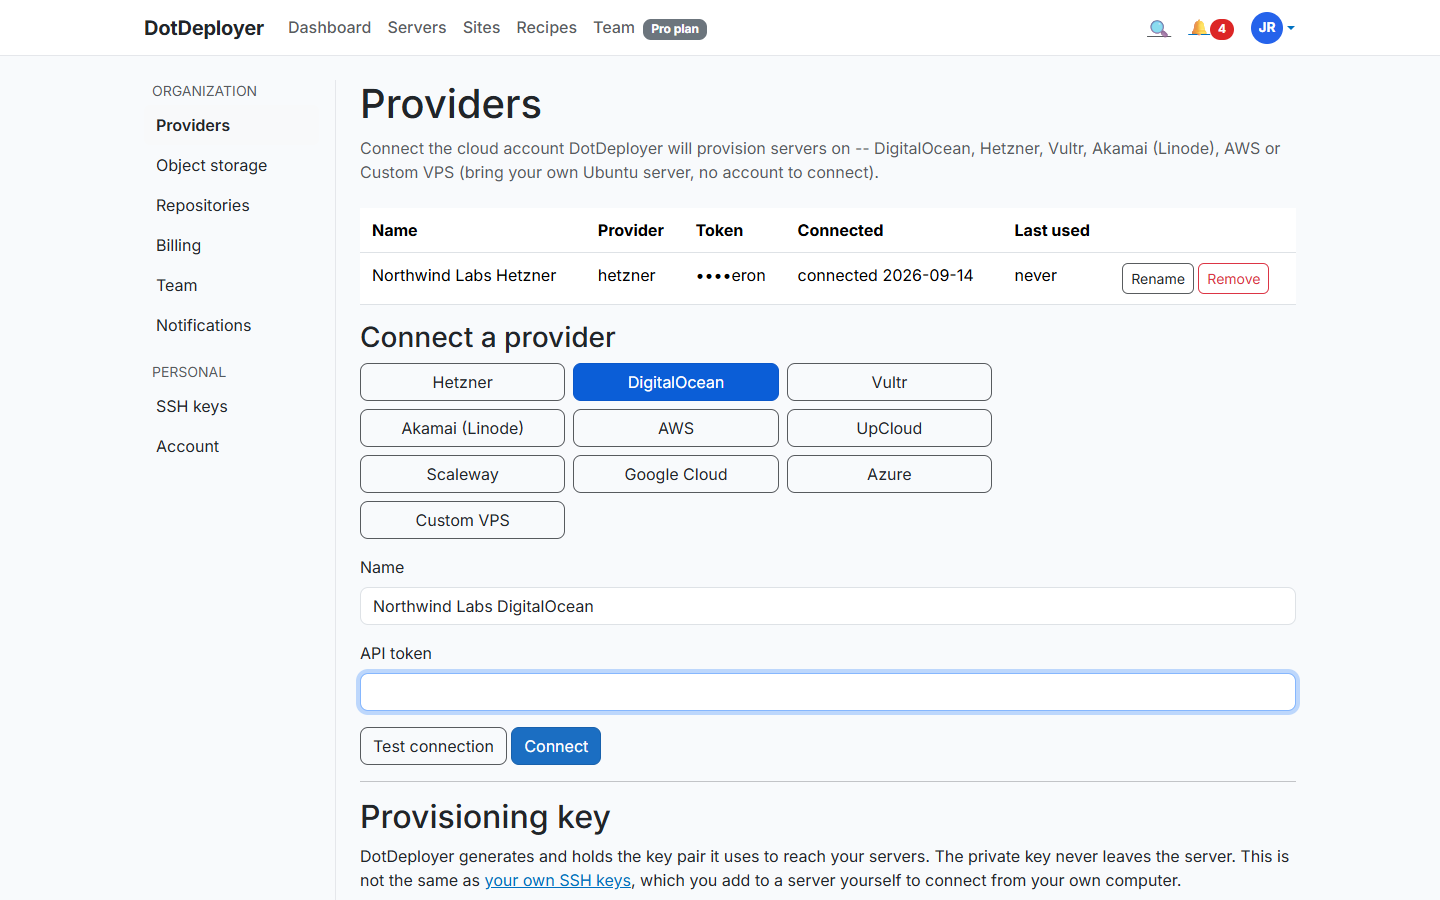
- In DotDeployer, go to Settings → Providers → Connect a provider → Vultr.
- Enter a name and paste in the API key.
- Click Test connection, then Connect. The key is encrypted at rest, and you can revoke it from Vultr’s dashboard at any time.
4. Create the server
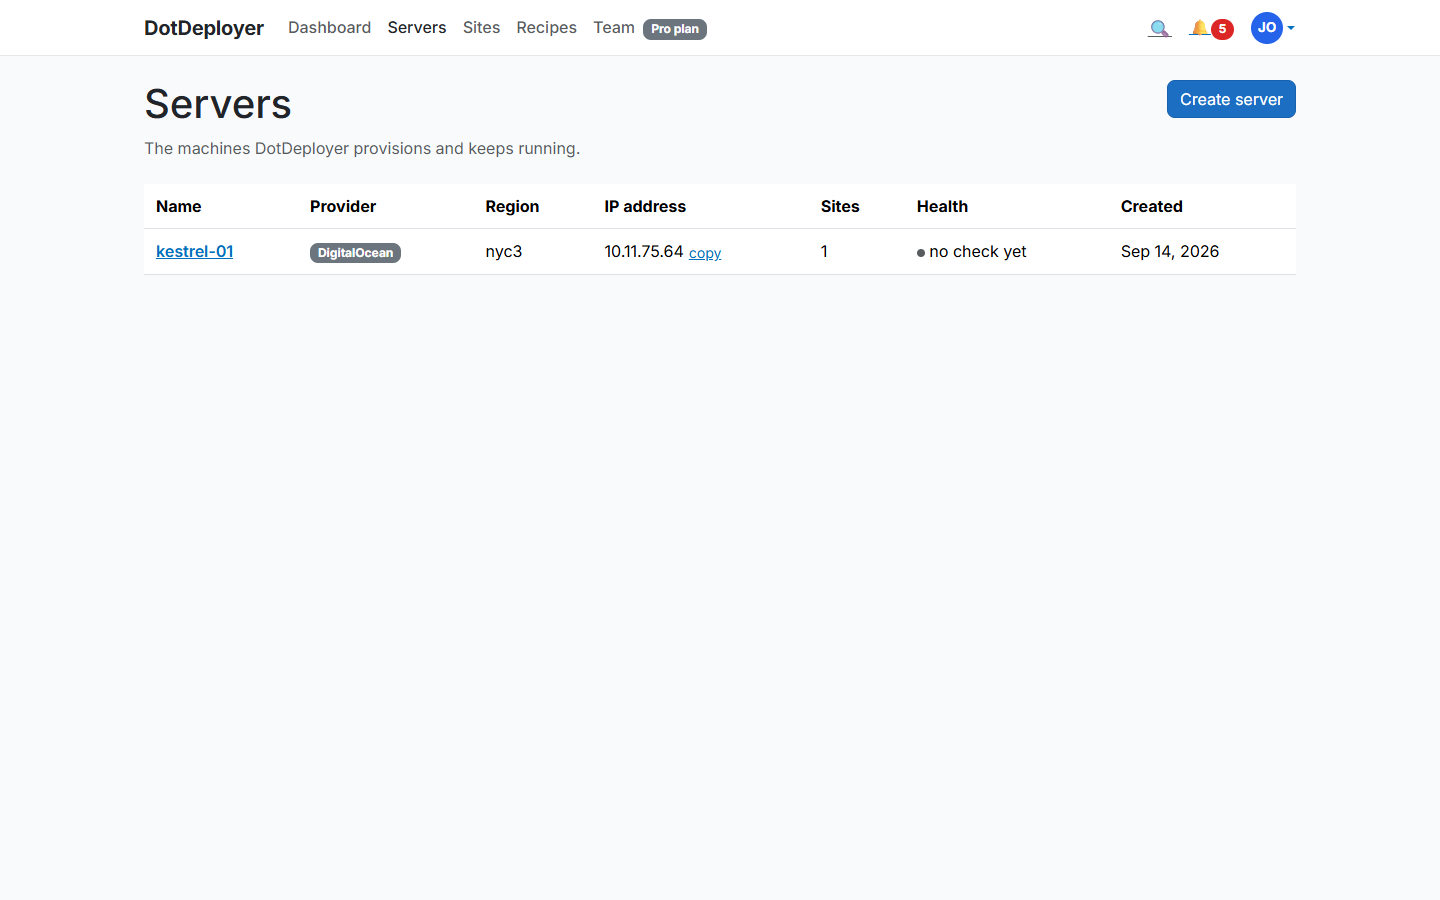
- From Servers → Create server, pick Vultr, choose one of its 30+ locations, and a size — a 1 GB Cloud Compute instance is enough for a small ASP.NET Core app.
- DotDeployer provisions the instance and bootstraps it: firewall, unattended security updates, the ASP.NET Core runtime, nginx. It shows Active once ready. DotDeployer uses Vultr’s general-purpose Cloud Compute line — not Bare Metal or the GPU/Kubernetes products.
5. Add a site and deploy from GitHub
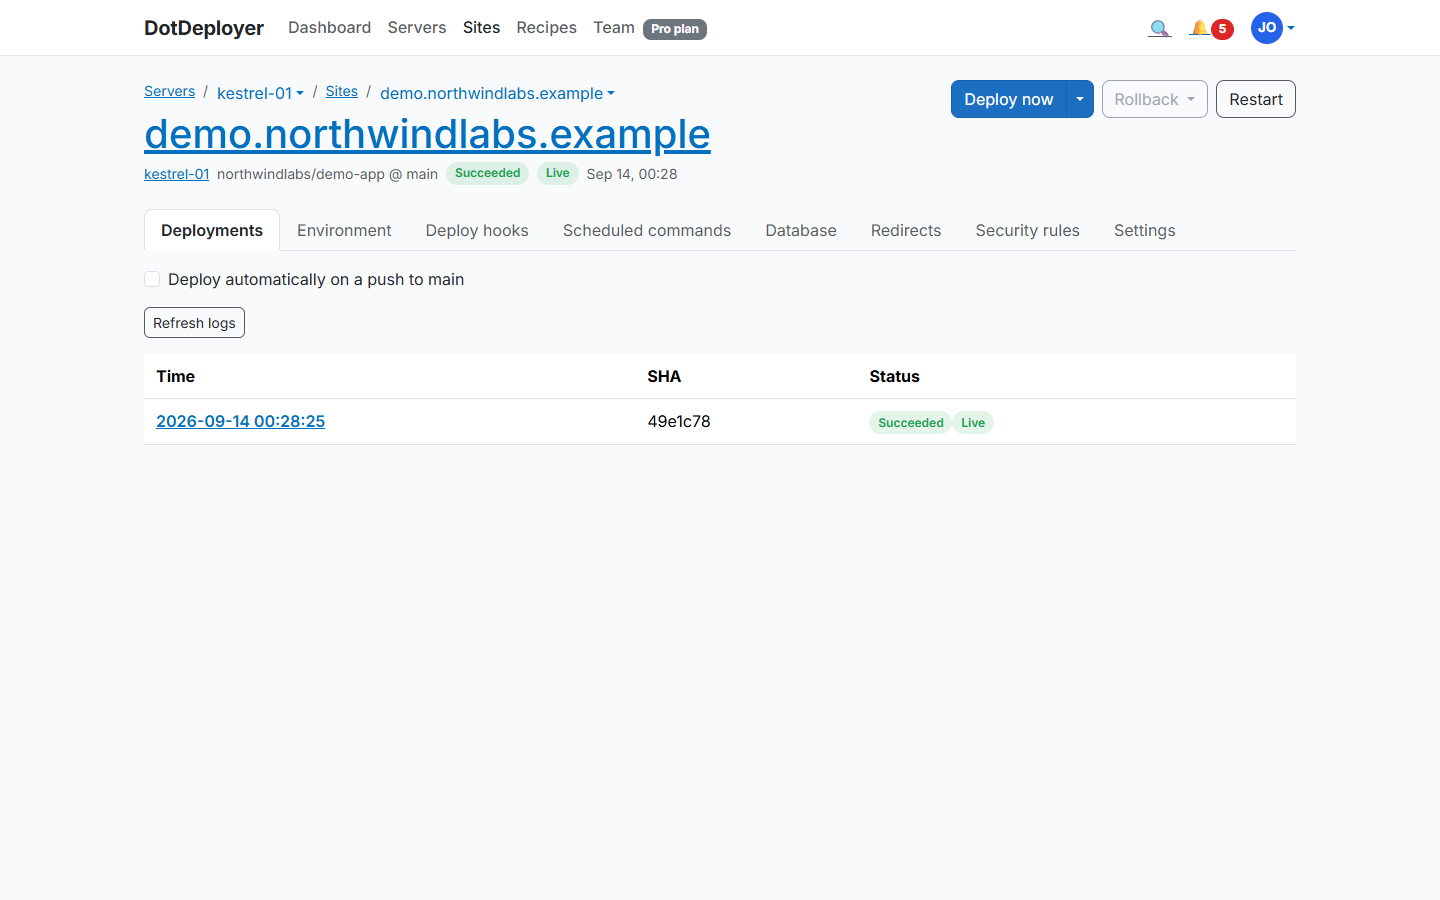
- Click Add site on the server and connect the GitHub repository you want to deploy.
- DotDeployer publishes your app, sets it up behind nginx as a systemd service, and streams the deployment log as it runs.
- Every later push to that branch deploys automatically, with the last five releases kept on disk for an instant rollback.
6. Database and environment variables
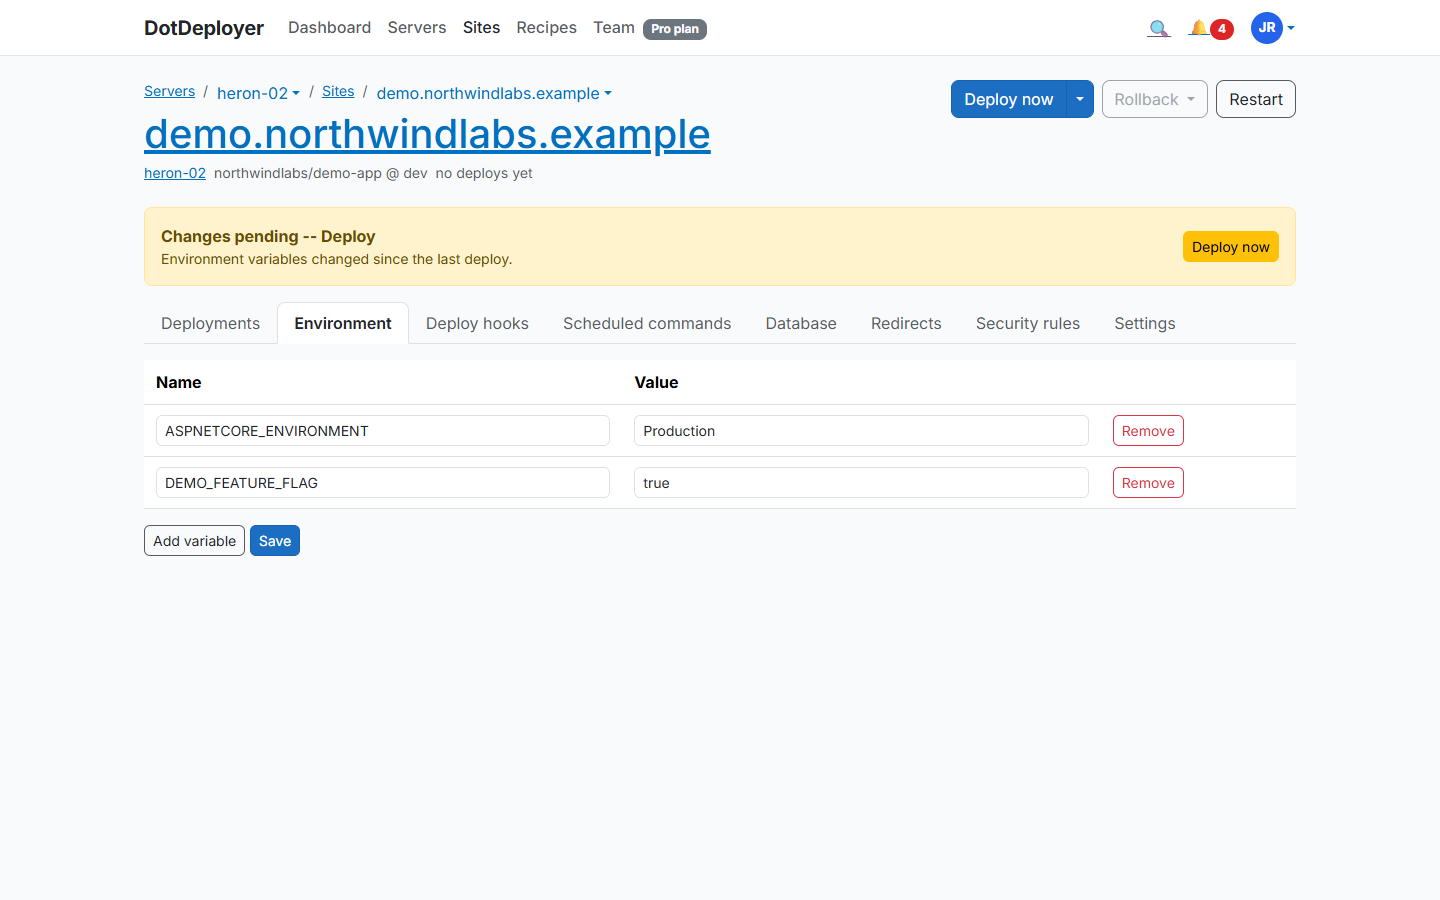
Install PostgreSQL or SQL Server on the same instance from the site’s Database tab — the port
stays closed to the internet, you connect from your laptop over an SSH tunnel. Set your connection
string and other configuration under Environment variables, encrypted at rest and delivered as
a systemd EnvironmentFile, never committed to your repo.
7. HTTPS
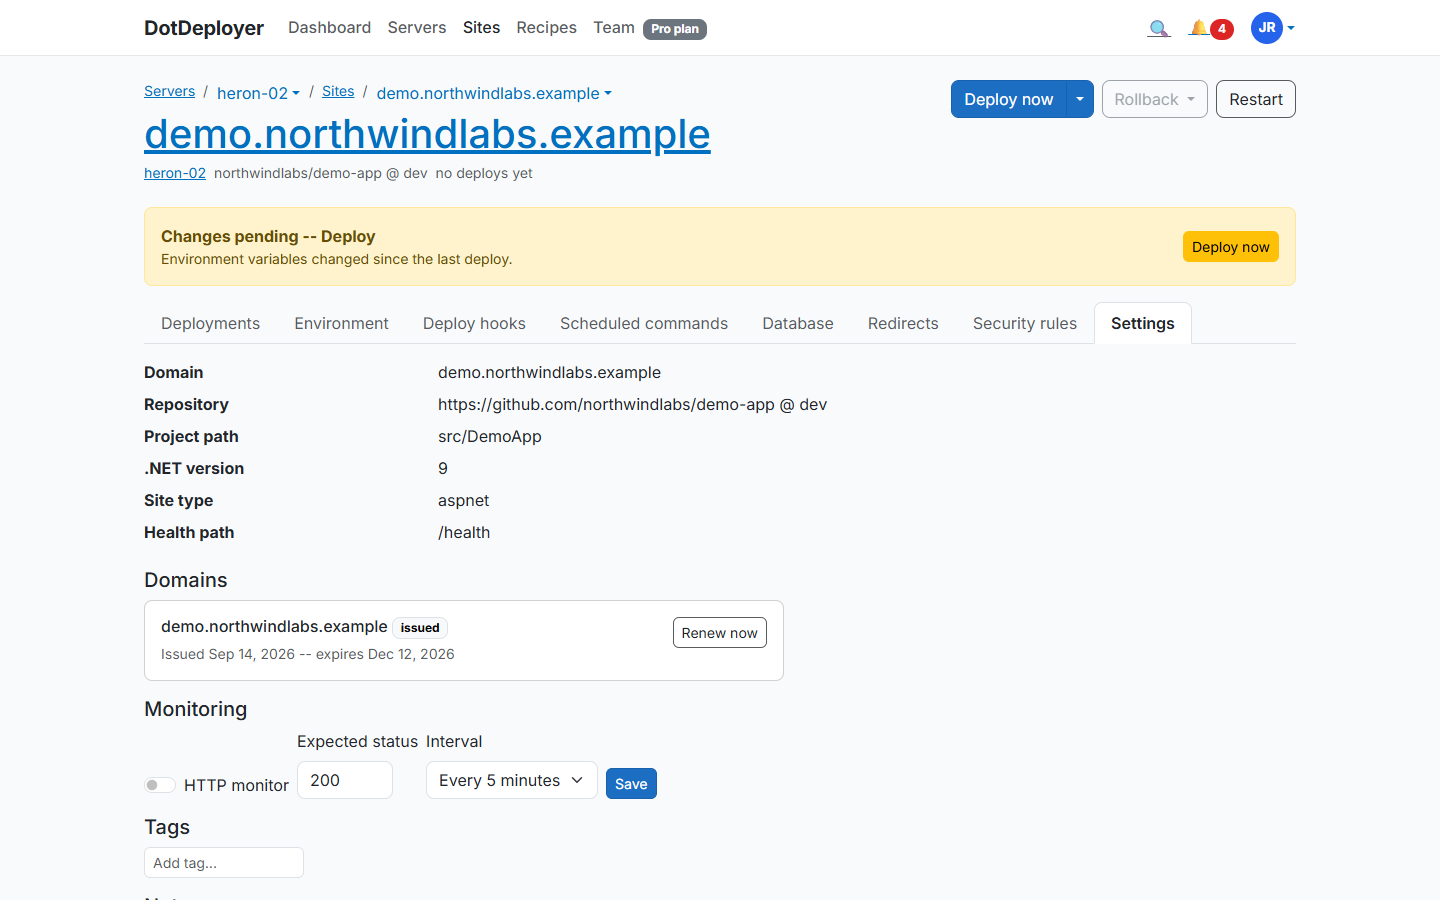
Point an A record at the instance’s IP for your domain, then add it under the site’s Settings tab (Domains section). DotDeployer requests a Let’s Encrypt certificate and renews it automatically.
8. What to check
- The site loads over HTTPS with a valid certificate.
- The deployment log shows the latest commit as the live release.
- If you’re just testing, destroy the instance from DotDeployer or Vultr’s console when you’re done — a day of a $2.50/mo instance is a fraction of a cent.
See the Vultr provider page for pricing and regions.
Join the waitlist