Deploy ASP.NET Core to AWS EC2
$100 credit up front (plus up to $100 earned), for 6 months.
AWS is the right pick if your company already standardizes on it, or needs whatever compliance program comes with an AWS account. DotDeployer provisions a plain EC2 instance and manages it over SSH — the same agentless approach it uses for every other provider — so nothing about your setup is AWS-specific beyond the instance itself.
1. What you need
- An AWS account.
- An IAM user with an access key scoped to EC2 — DotDeployer never touches any other AWS service in your account.
- A DotDeployer account.
2. Create the account and the API credential
- Go to aws.amazon.com/free and create an account — this needs a card for identity verification, a Business contact type, and phone verification. Choose the Free plan, which gives you $100 up front and up to $100 more in earned credit, for 6 months, after which the free account closes itself.
- Sign in to the AWS Console as the root user and turn on MFA under your account’s Security credentials — this matters even for a small test account.
- Open IAM → Users → Create user, name it, leave console access unchecked (it only needs API
access), and attach the
AmazonEC2FullAccesspolicy directly. - Click the new user, open Security credentials → Create access key, choose Application running outside AWS, and copy the Access key and Secret access key — AWS only shows the secret once.

3. Connect it in DotDeployer
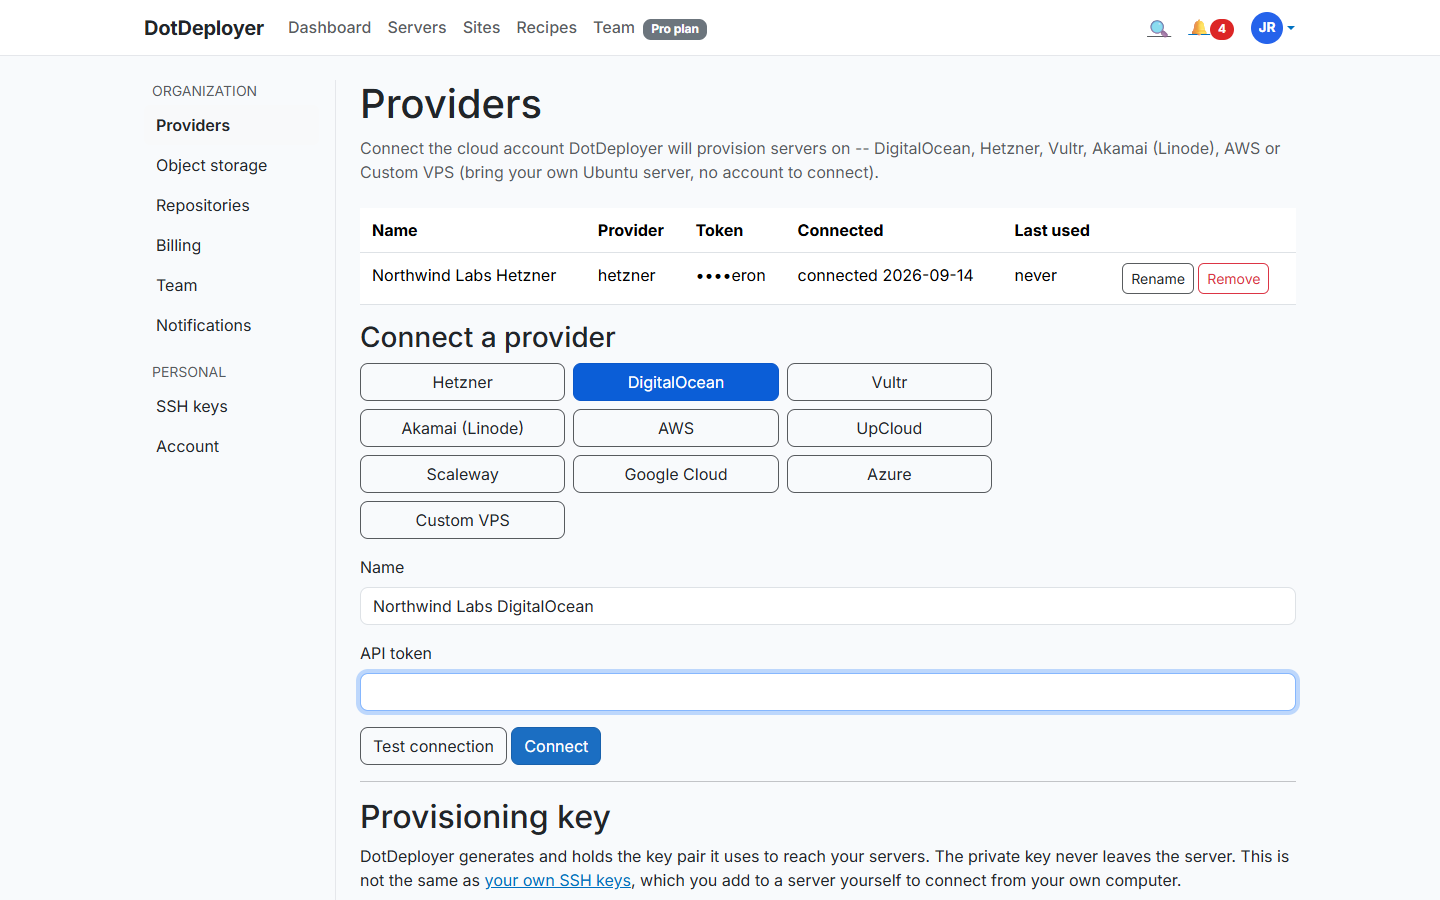
- In DotDeployer, go to Settings → Providers → Connect a provider → AWS.
- Enter a name, the access key ID, the secret access key, and a region (
us-east-1is a reasonable default). - Click Test connection, then Connect. The secret is encrypted at rest, and DotDeployer only calls the EC2 endpoints that policy allows — it never uses Elastic Beanstalk or App Runner, and it never touches any AWS service outside EC2.
4. Create the server
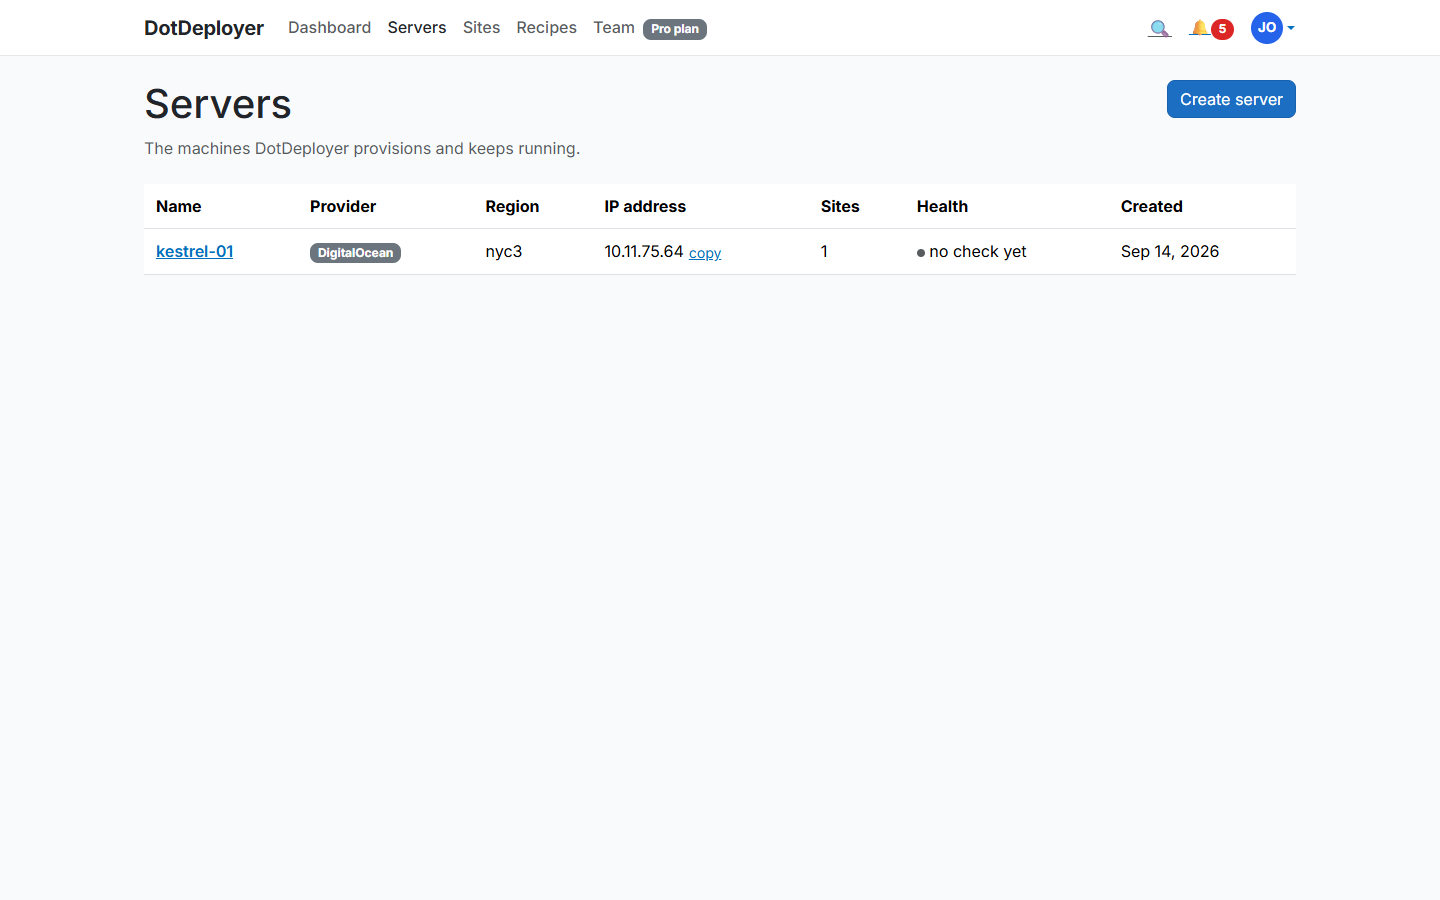
- From Servers → Create server, pick AWS, choose a region and size — a
t3.microort4ginstance is enough for a small ASP.NET Core app and fits comfortably inside the free credit. - DotDeployer provisions the instance and bootstraps it over SSH: firewall, unattended security updates, the ASP.NET Core runtime, nginx. It shows Active once bootstrap finishes.
5. Add a site and deploy from GitHub
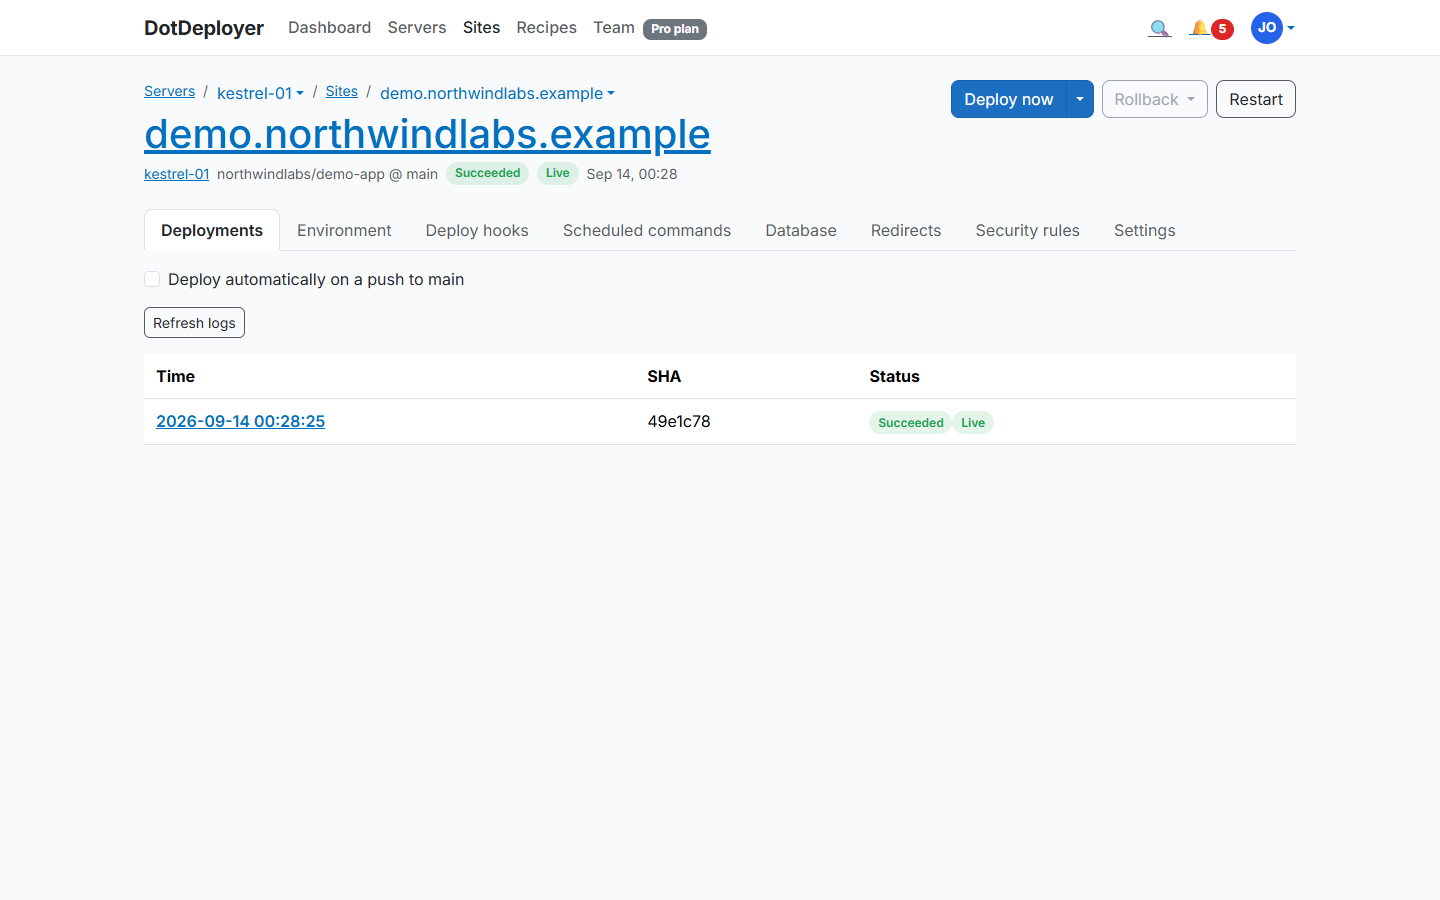
- Click Add site on the server and connect the GitHub repository you want to deploy.
- DotDeployer publishes your app, wires it up behind nginx as a systemd service, and streams the deployment log line by line.
- Every subsequent push to that branch deploys automatically, with the last five releases kept on disk so a rollback is instant.
6. Database and environment variables
Install PostgreSQL or SQL Server on the same instance from the site’s Database tab — the port
stays closed to the internet; you connect from your own machine over an SSH tunnel rather than
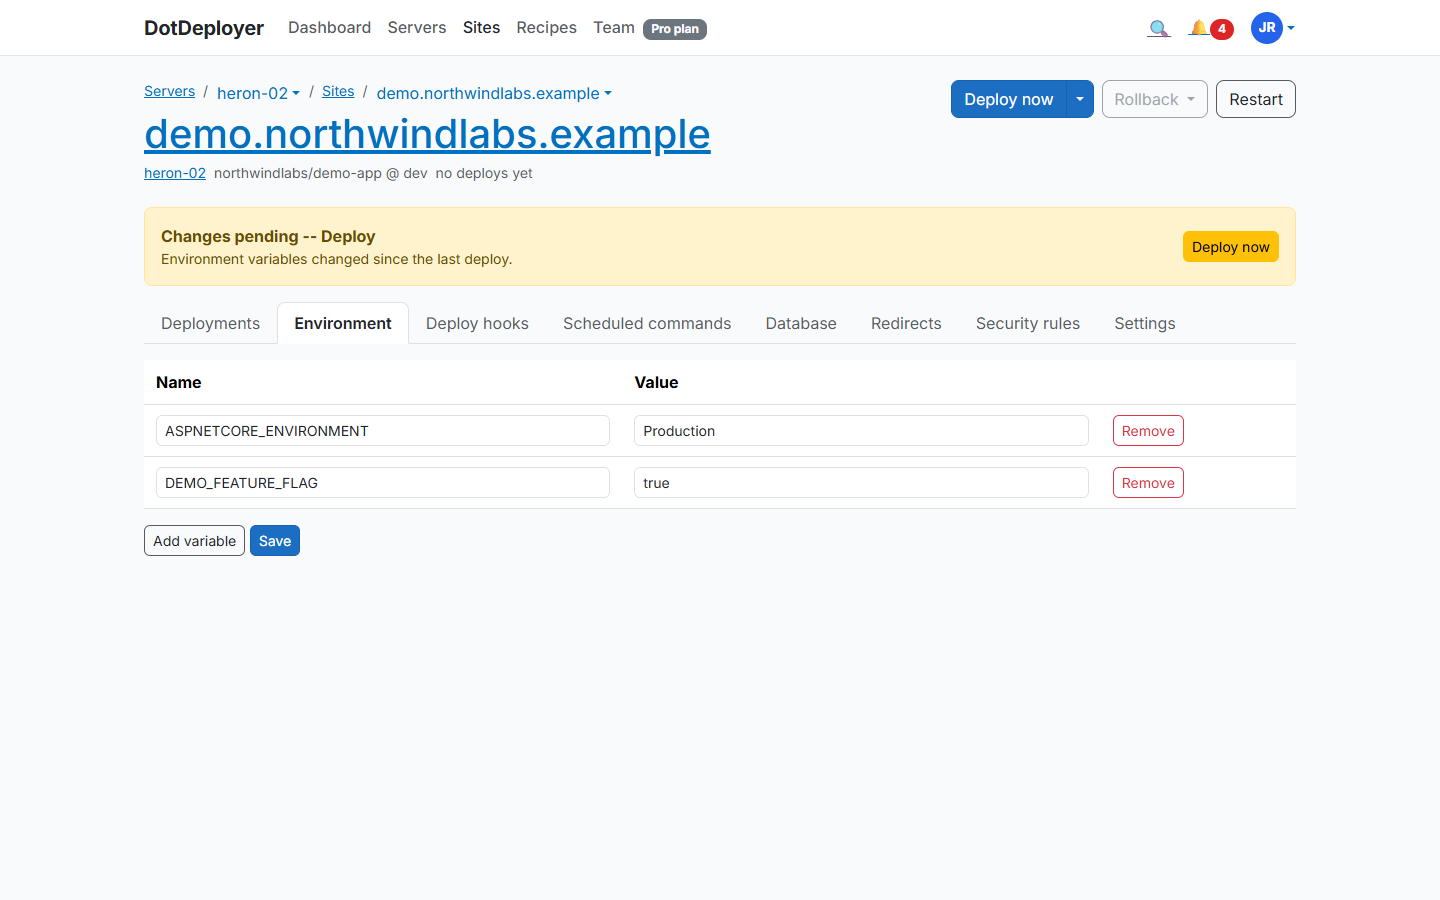
opening 5432 or 1433 publicly. Set your connection string and any other configuration under
Environment variables, encrypted at rest and written to the server as a systemd
EnvironmentFile, never committed to your repo.
7. HTTPS
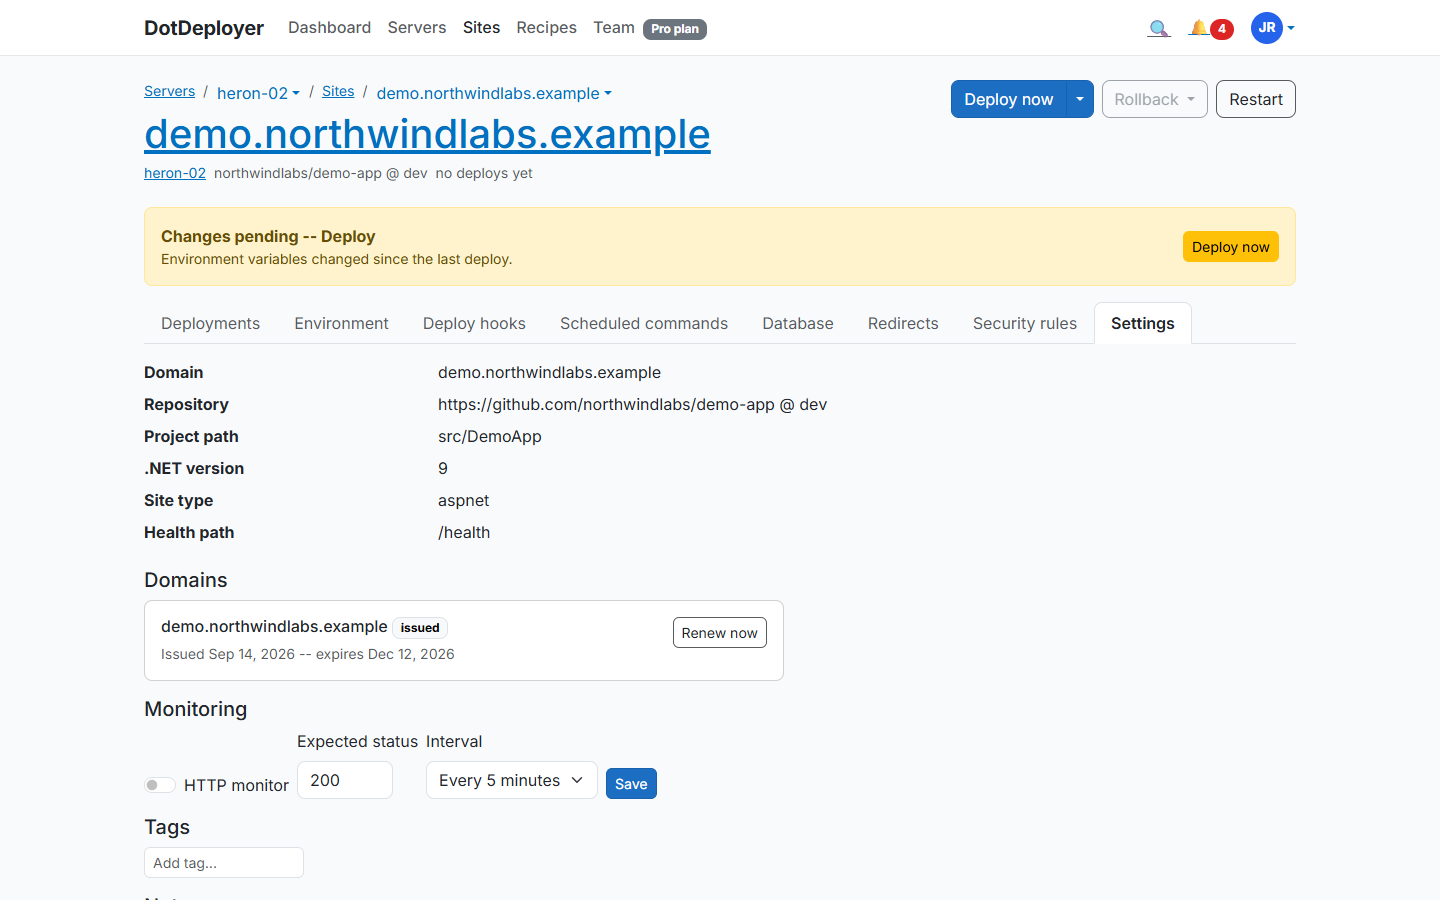
Point an A record at the instance’s public IP, then add the domain under the site’s Settings tab (Domains section). DotDeployer requests and installs a Let’s Encrypt certificate and renews it automatically — there’s no load balancer or ACM certificate to configure separately.
That IP is an Elastic IP, not just the instance’s own address — point your A record once and it survives a reprovision, so you never have to edit DNS again after a rebuild.
8. What to check
- The site loads over HTTPS with a valid certificate.
- The deployment log shows the latest commit as the live release.
- AWS’s own Billing → Free Tier page shows your usage against the $100 credit.
- Destroy the instance from DotDeployer (or the AWS console) when you’re done testing, and confirm it’s gone from EC2 — nothing keeps billing after that.
See the AWS EC2 provider page for pricing and regions.
Join the waitlist